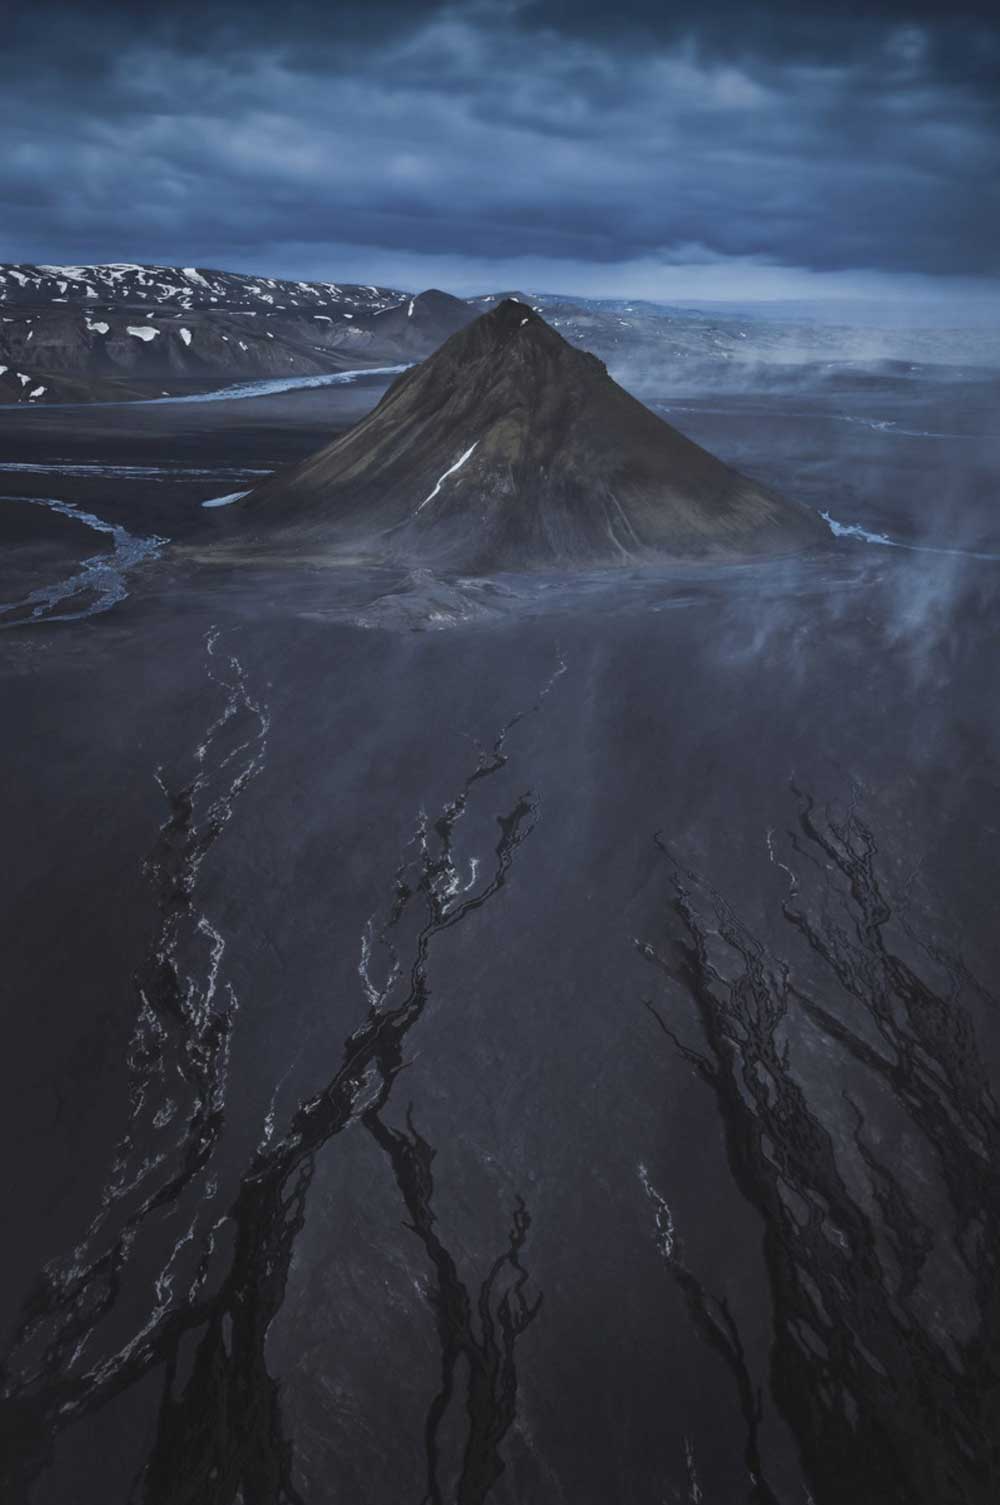
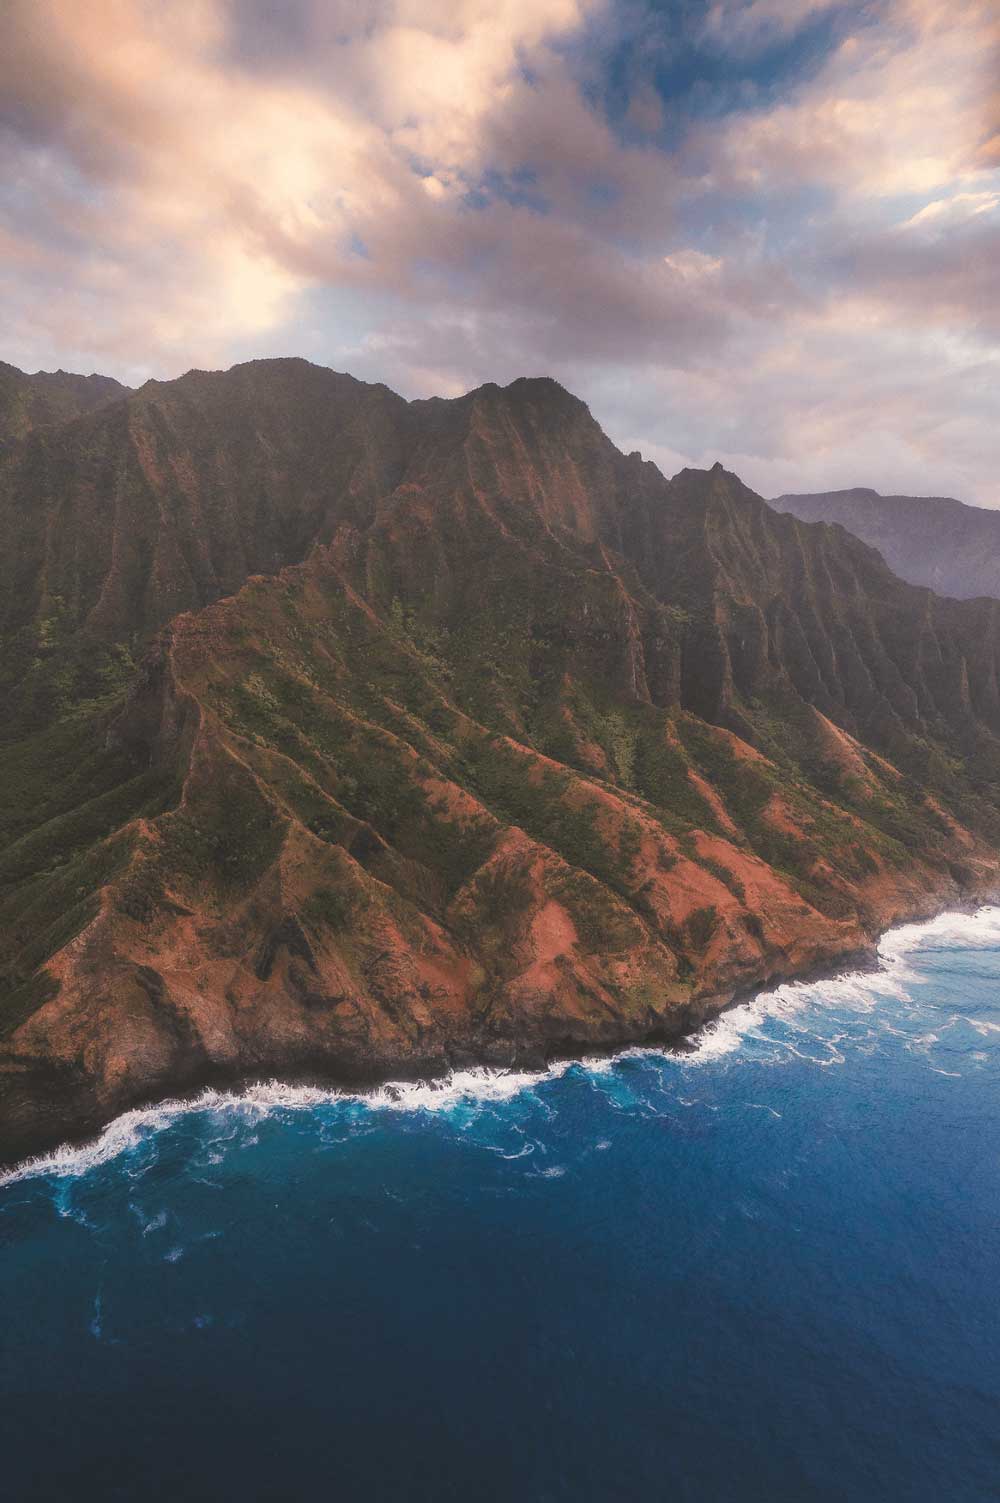
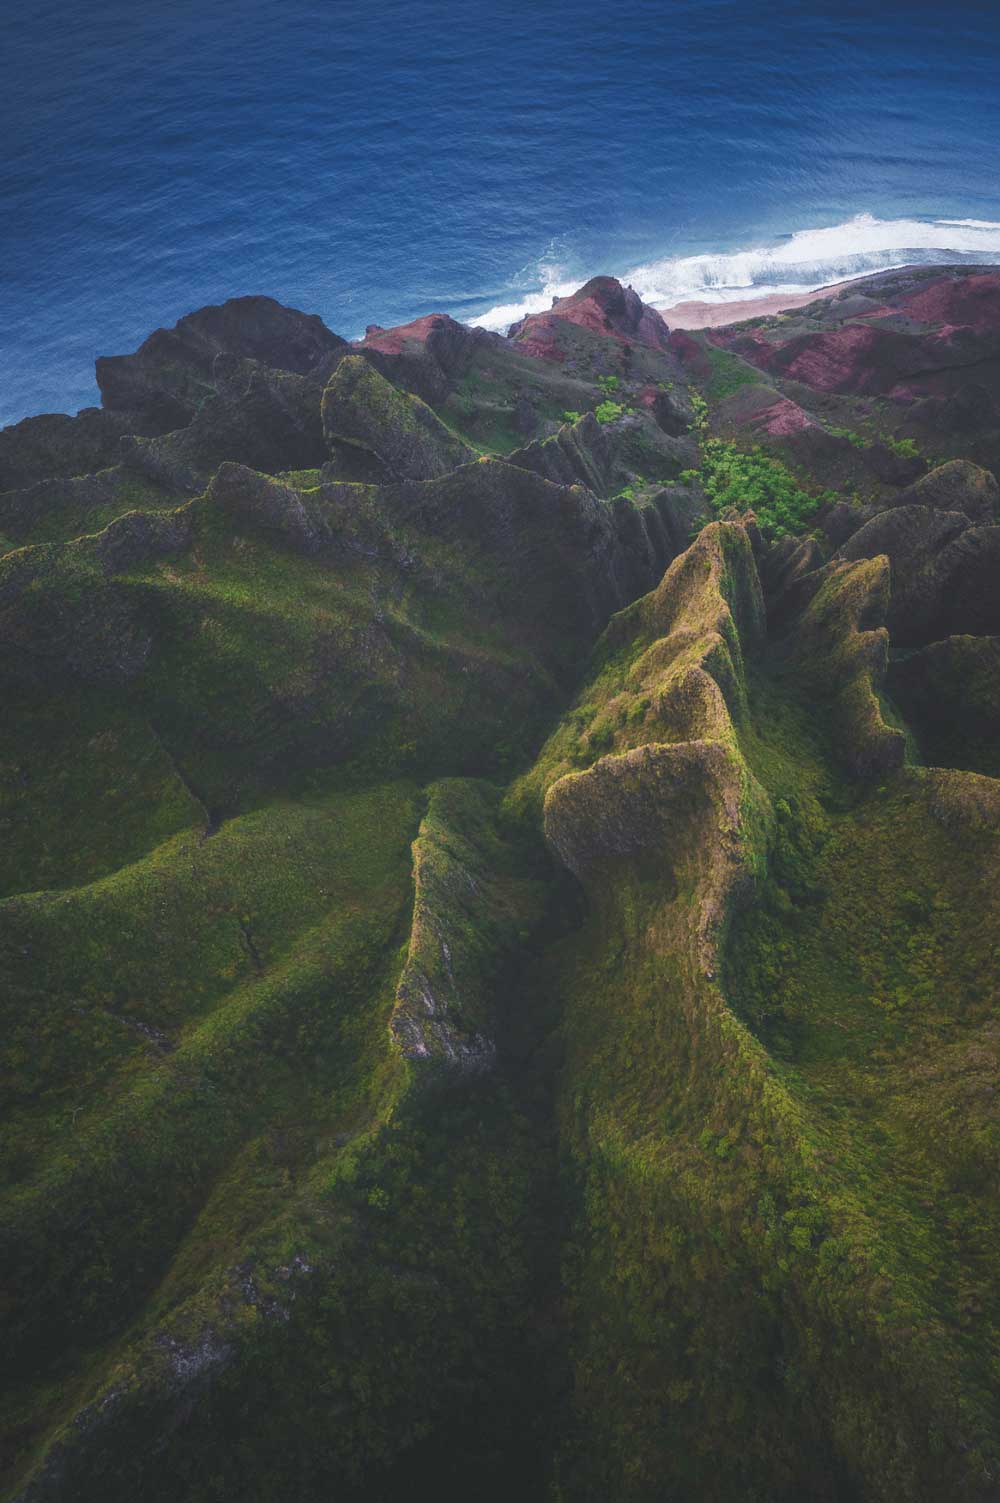
Aerial photography is an extremely fun and relatively easy way to create new and unique images. Over the past couple years I’ve been fortunate enough to have taken several flights over Iceland, Hawaii, NYC, the Canadian Rockies, and other stunning landscapes.
Through quite a lot of trial & error on these flights, I have learned a lot about aerial photography so I decided to share a short tips & tricks guide. I hope you find it helpful!

Typically, most flights range from $750 – $2,000/ hr. To reduce cost, bring friends!
Usually, helicopters & other aircraft allow for at least 2-3 people on board. Splitting a flight three ways can help to make aerial photography more affordable.
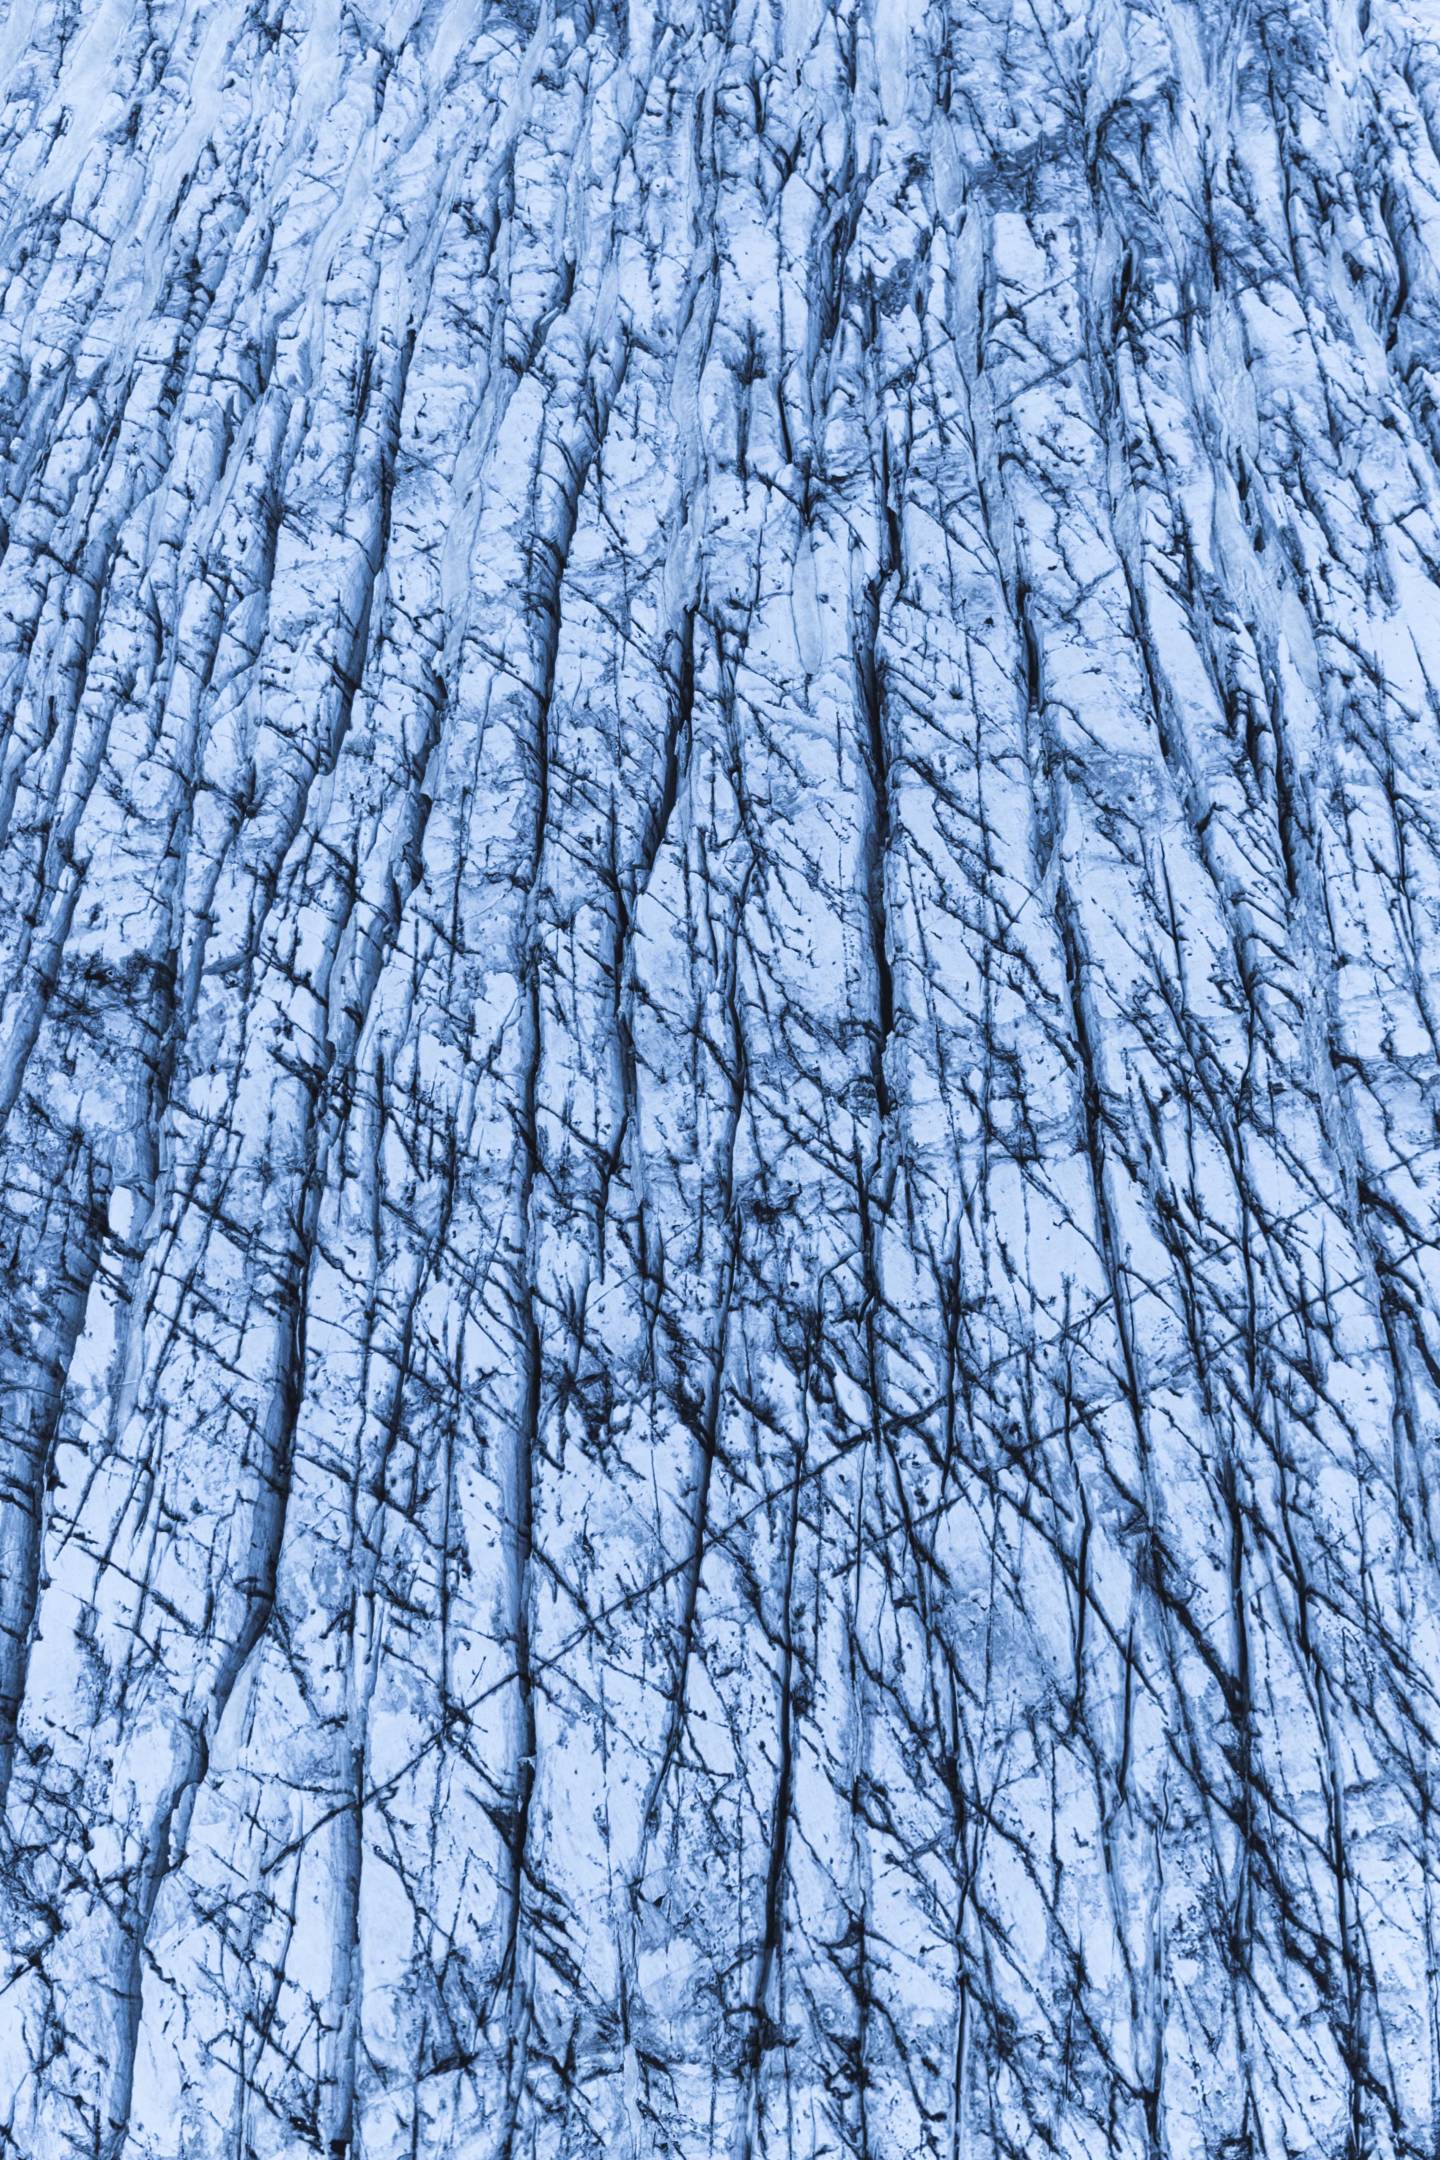
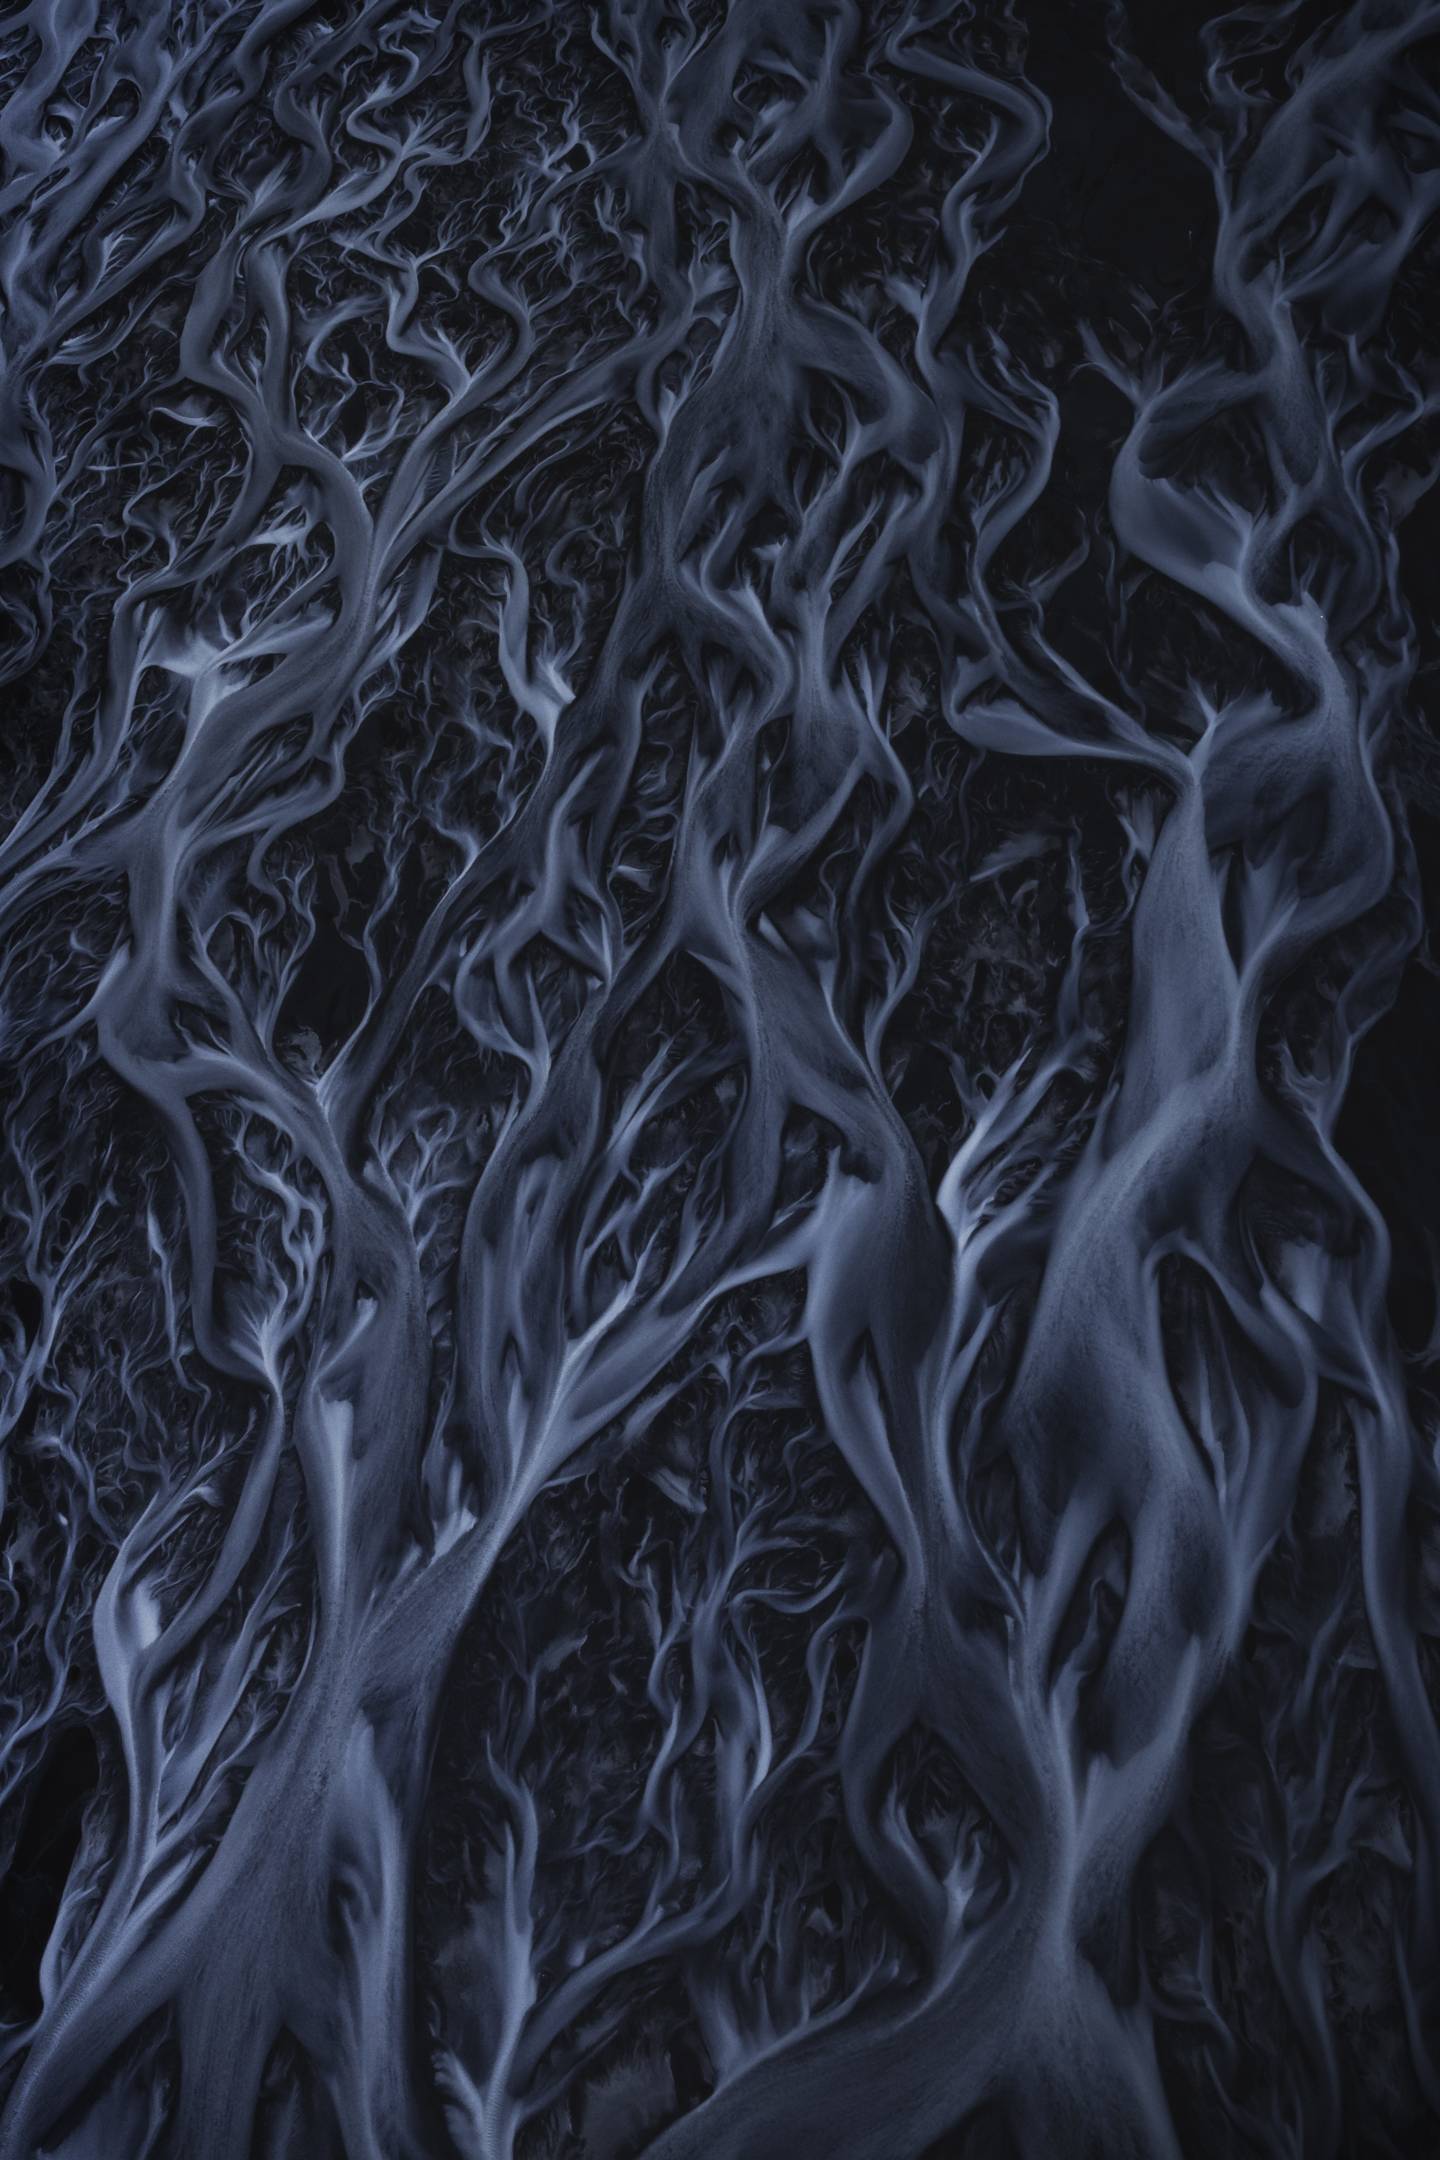
Use a fast shutter speed!Vibration from an aircraft and windy conditions can make it difficult to create sharp images. In most situations I’ve found that 1/250 of a second just won’t quite cut it. Depending on my focal length, I try to keep my shutter speed at around 1/500 or even higher if the light allows for it.
Just remember to bump your ISO or open up your aperture to compensate.
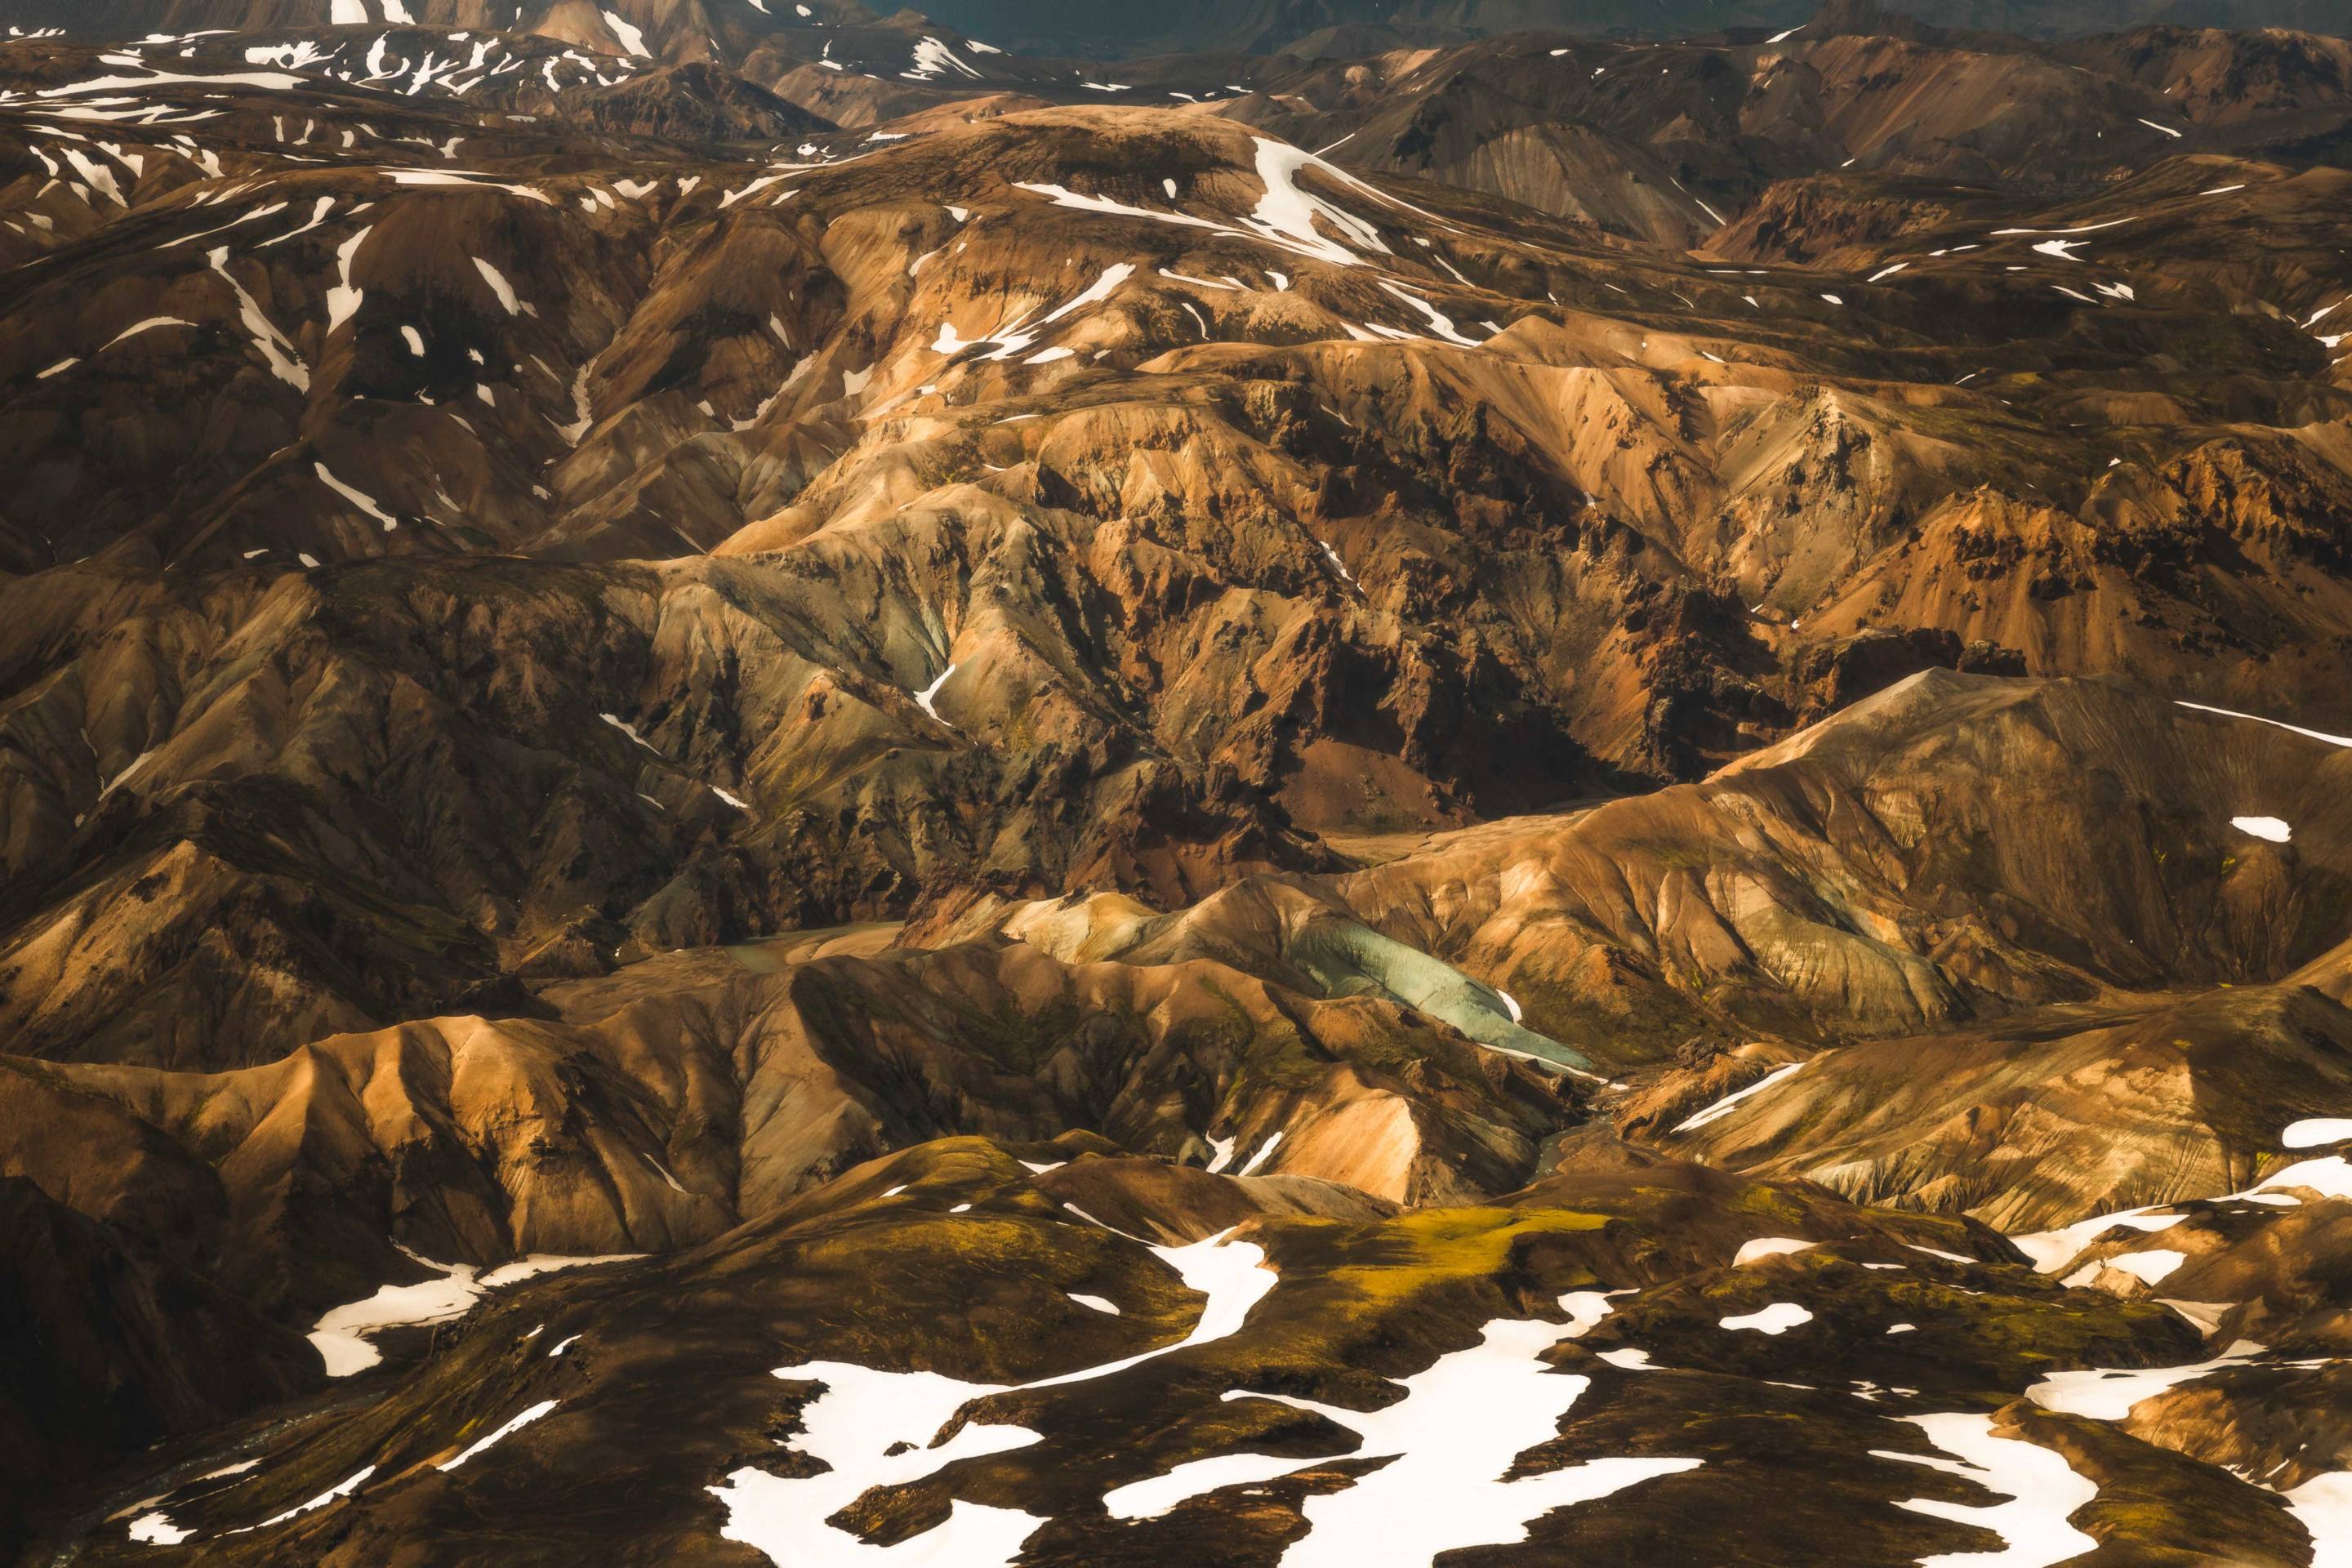
If you’re chartering a flight, you’re the boss! If there is a specific peak or valley you want to focus on shooting, communicate with your pilot over the radio or better yet, talk to them beforehand so you can maximize your time shooting.
If you find yourself wanting to reshoot a location or see what something looks like at a new altitude or positioning, communicate with your pilotand they’ll do what you need to get the shot. You’ll always walk away with more if you communicate!
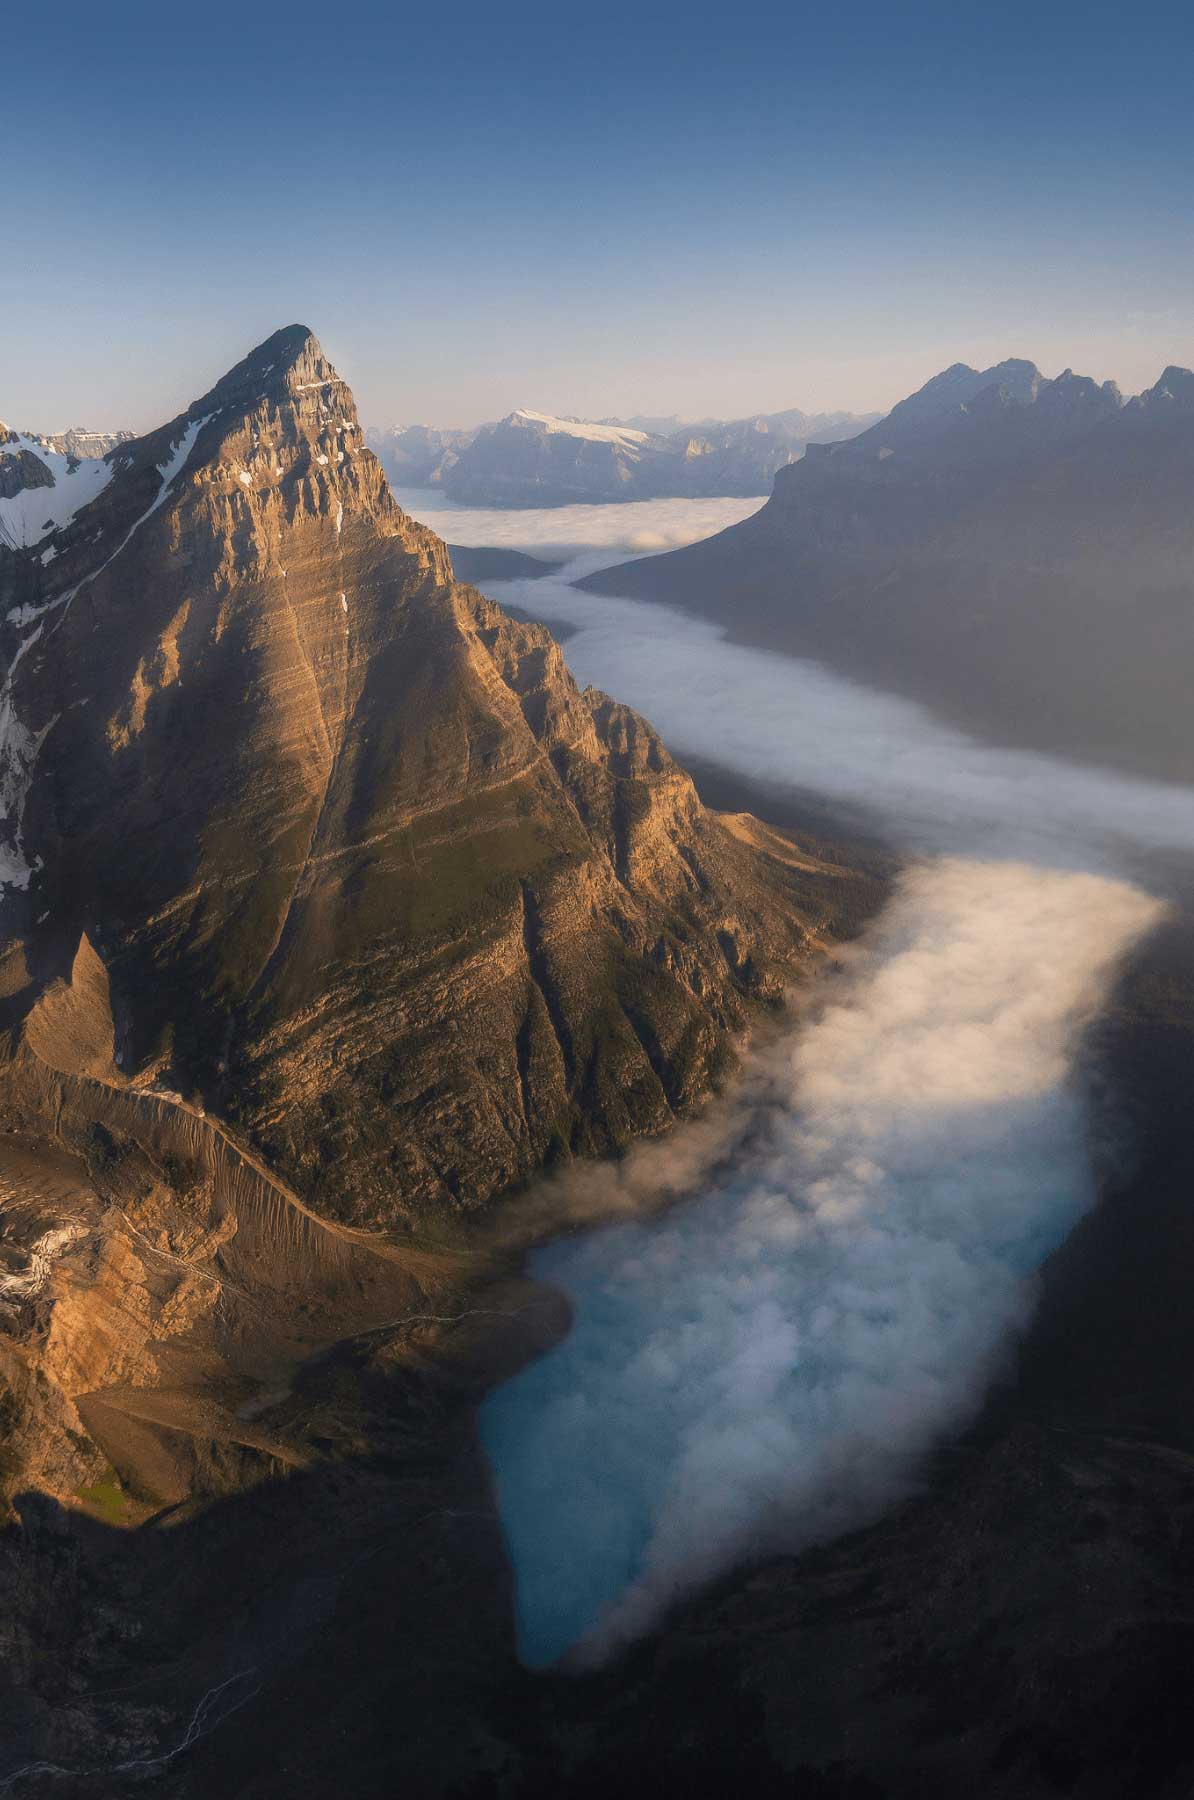
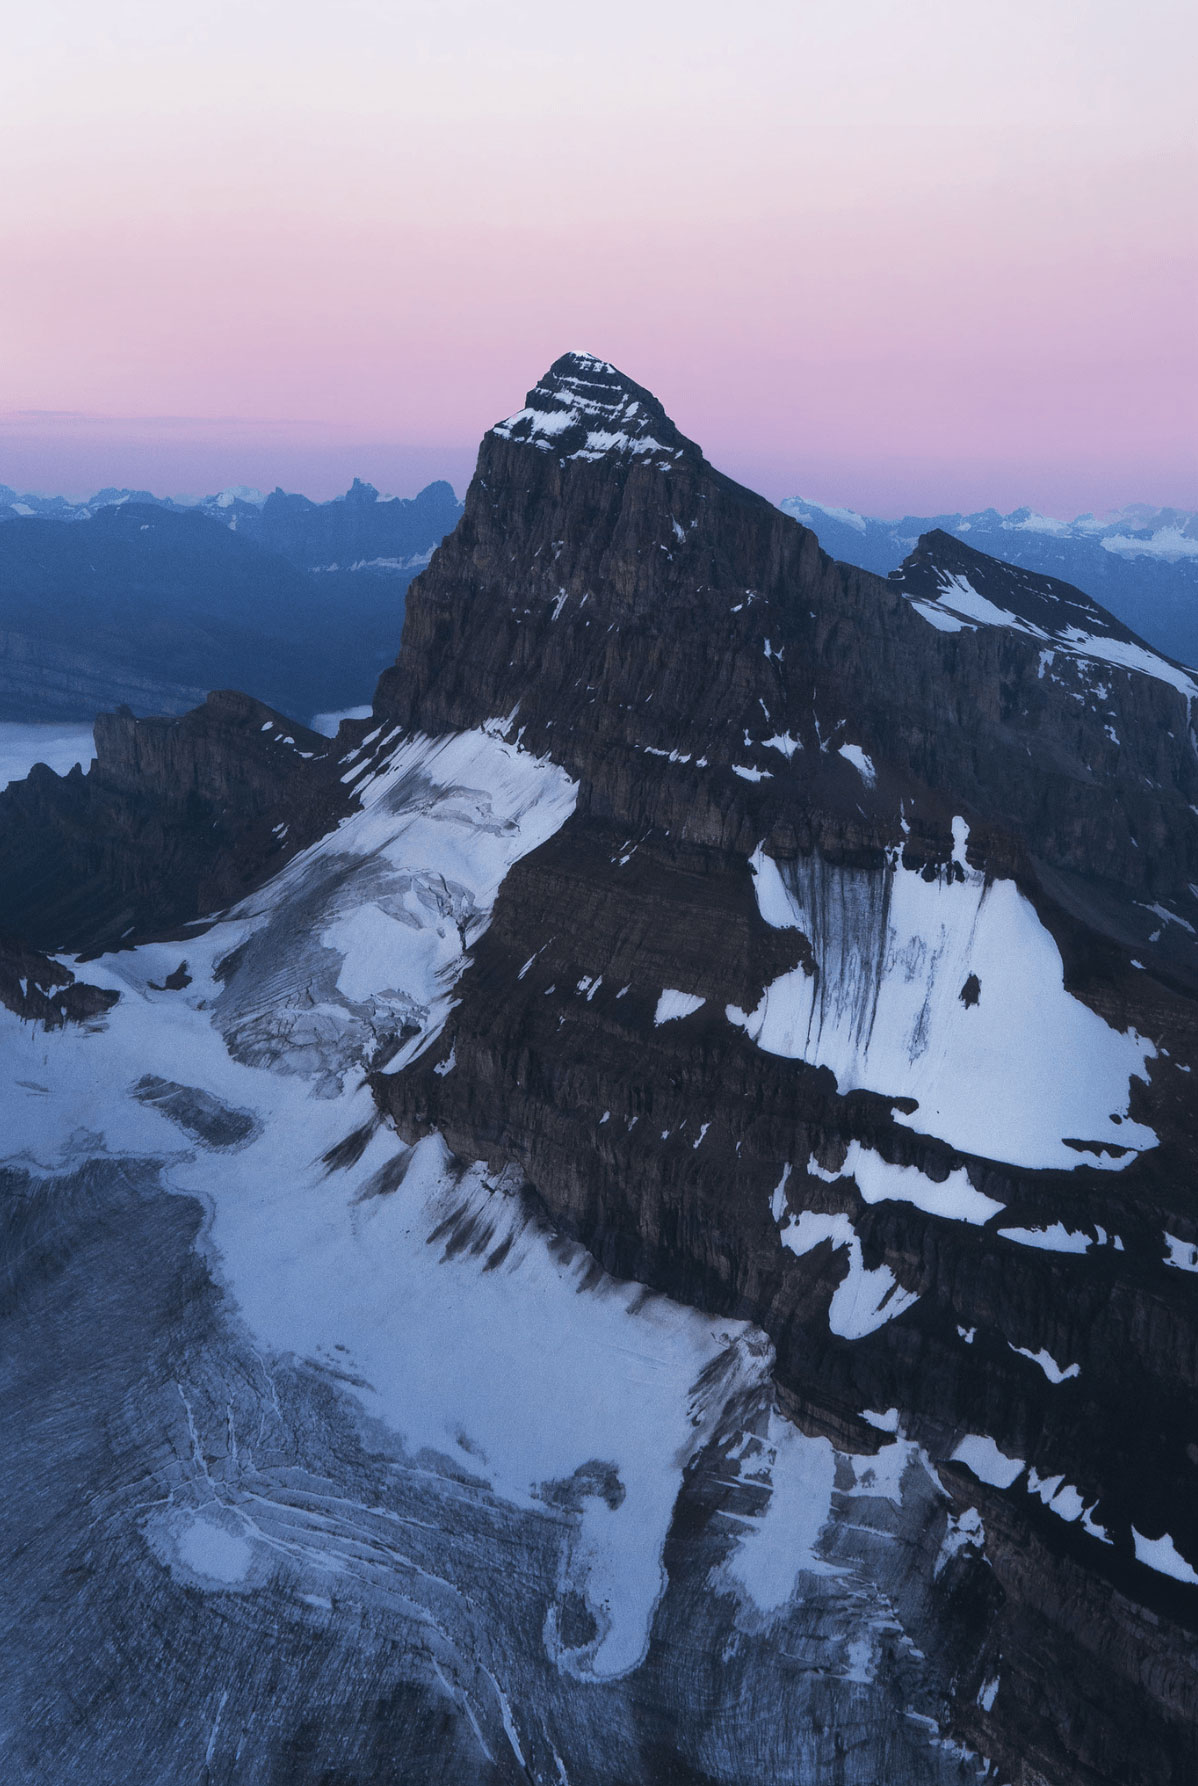
Shooting through the glass window of a helicopter can be a nightmare. To avoid glare in your aerial photography, request that the doors be removed ahead of time. Trust me, it’s super funflying without doors.
While your overall flight experience and content will be drastically improved, you’ll also be quite a bit colder so come prepared with a warm jacket and glovesdepending on the season/ locations you’ll be at. Remember that it’s always colder the higher you are so even if it’s summer, be prepared with a jacket if not gloves!
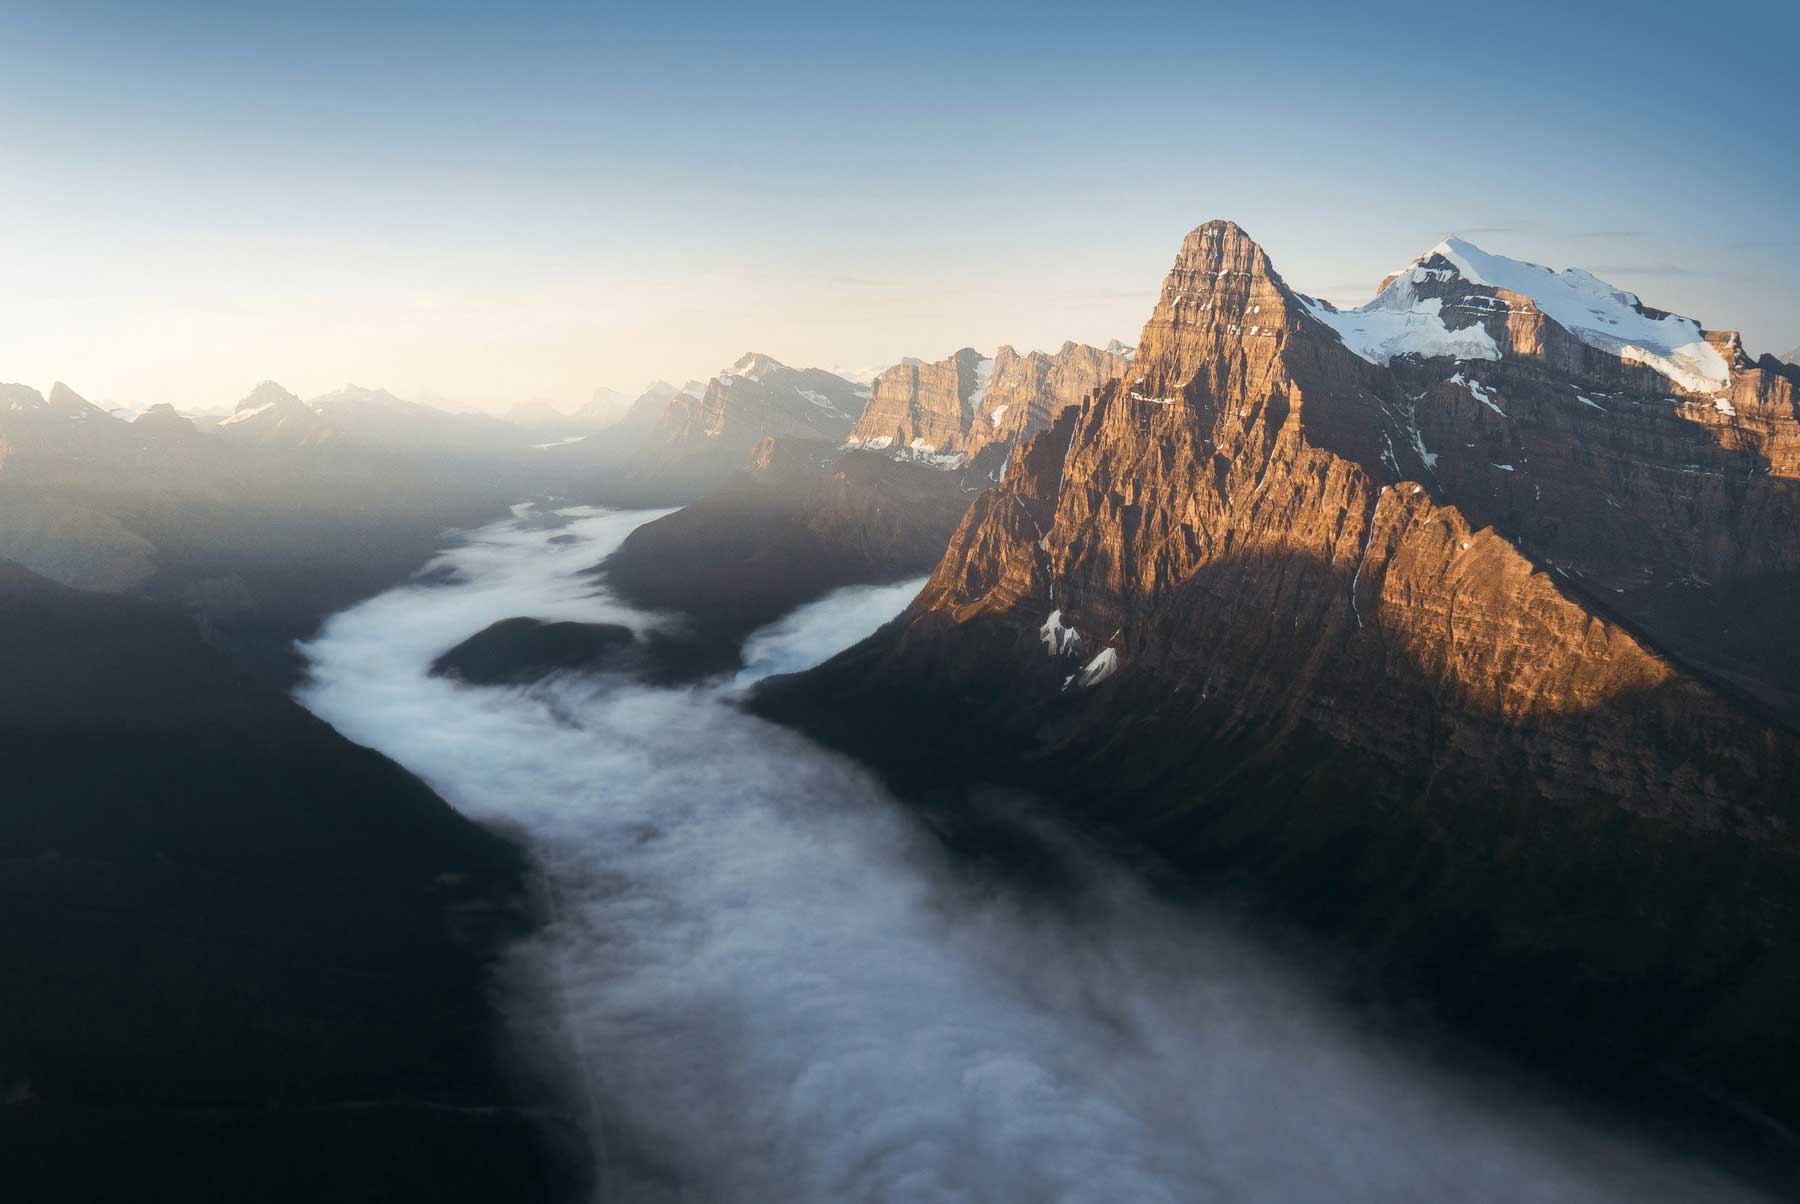
Remember to use a polarizing filter! If you happen to be on a flight with the doors on, a polarizing filter will help you avoid glares.
Even if you’re flying doors off, a polarizer will help you reduce glare on lakes and rivers and help you maintain an overall cleaner image. I really enjoy using Benro Filters.
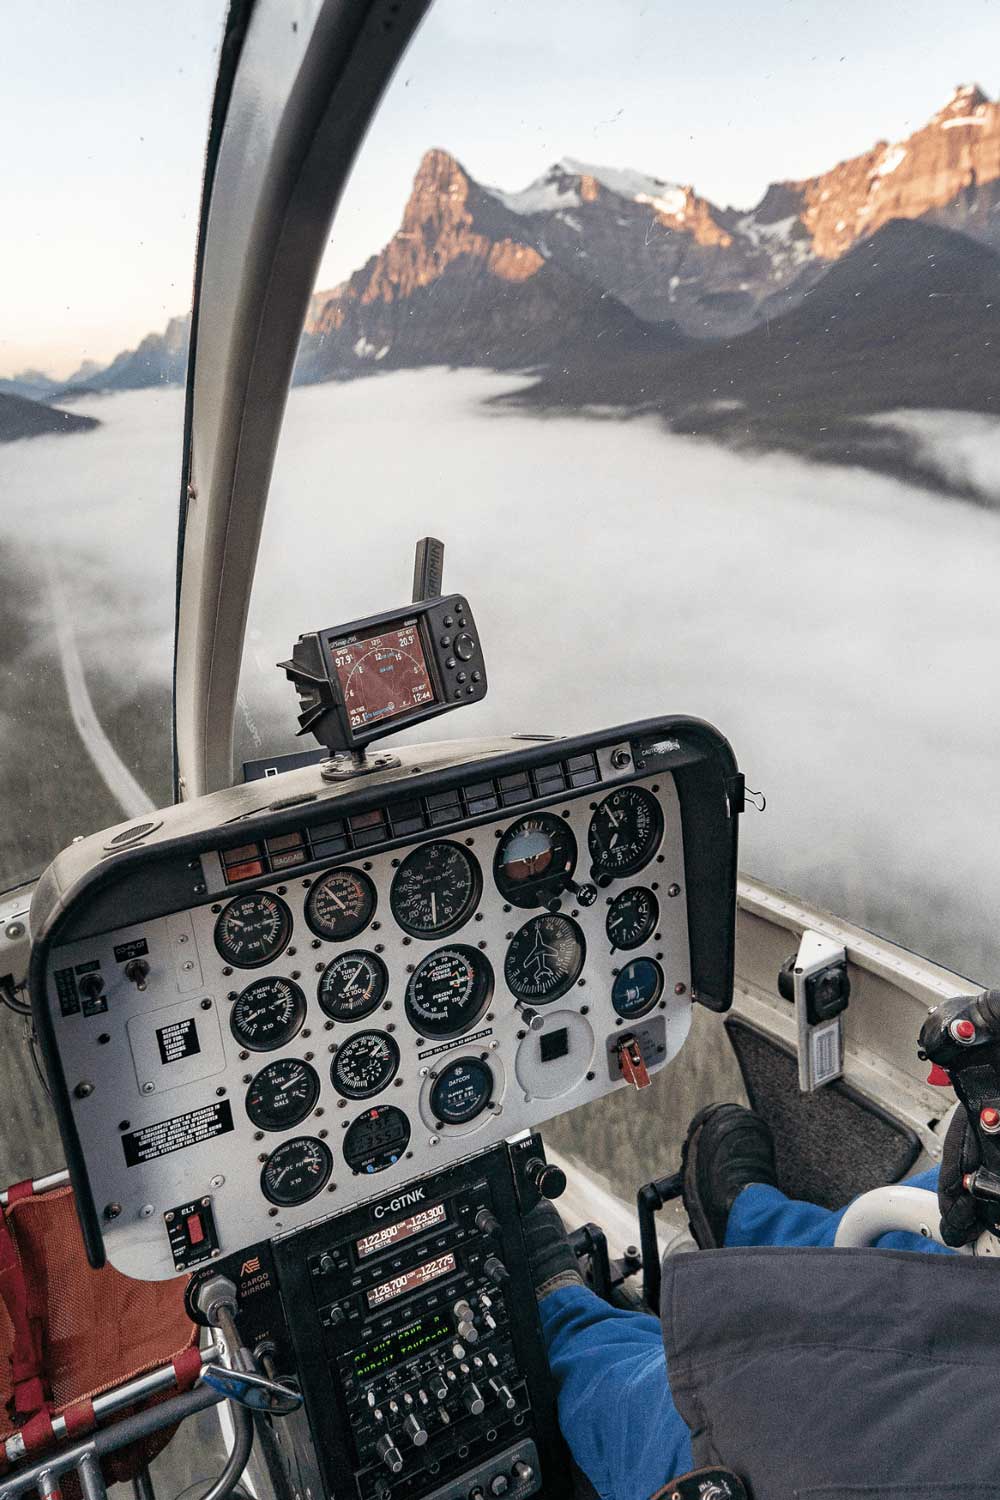
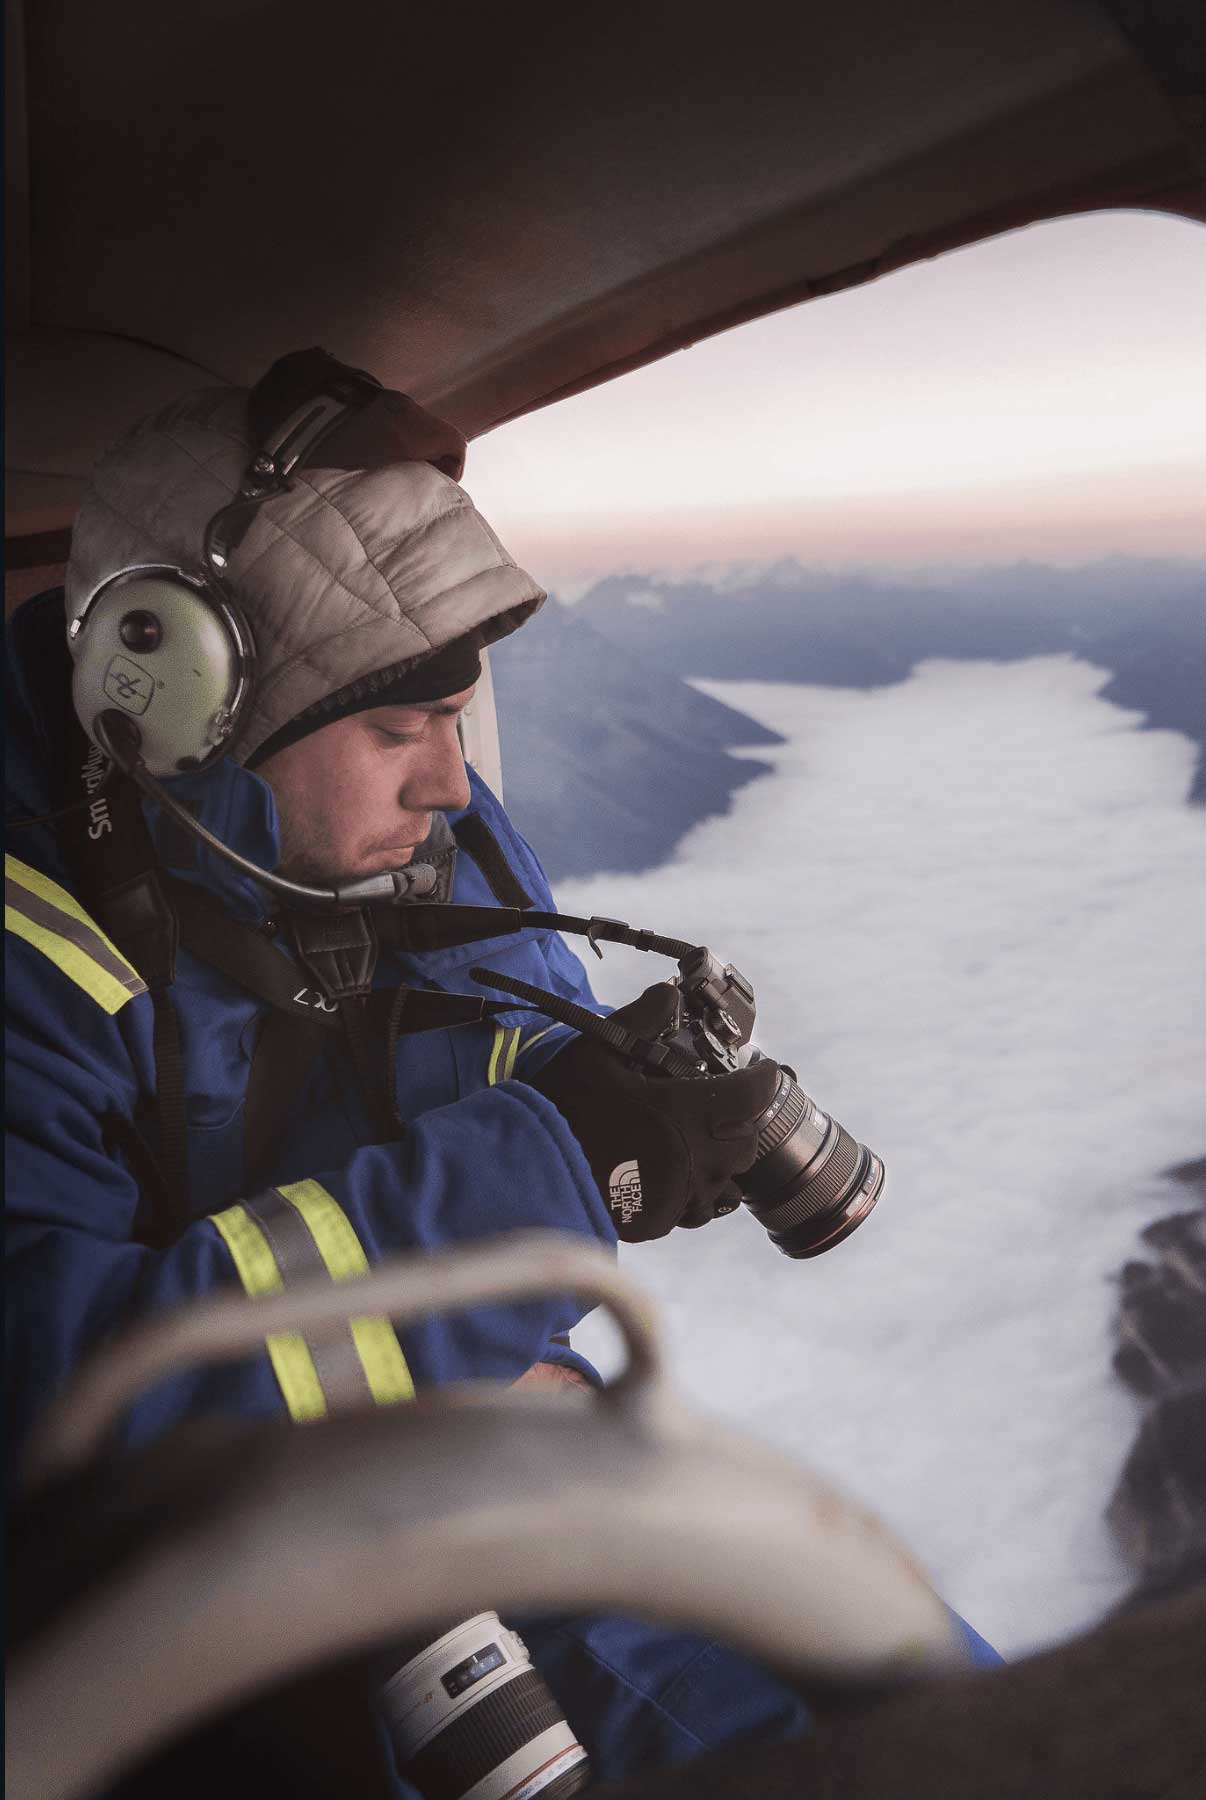
If you’re on a doors-off helicopter flight, It can be hard to safely switch between lenses.
I’ve found that the lens I use most on flights is a 24-70 f/2.8.
You can always bring multiple cameras with different lens setups, just make sure they all have straps! All pilots will require that you have your camera bodies properly secured during the flight.
For aerial flights, I’ve enjoyed using a wrist strap by Osiris & Co.

Remember to pull some cash before your flight for your pilot once you land. They work hard to keep you safe while you enjoy your flight and deserve a tip.
Thank you for reading! I hope you enjoyed this short tips & Tricks guide.
If you’d like to purchase a print of any of these photos, click on the print shop in the navigation. All profits directly support my aerial photography addiction.
Thanks!
